You might be thinking that the Task Scheduler is just a way to schedule an application to run at a certain time, but it is so much more than that, and has become an integral part of Windows. In the old days, Windows had a ton of Services running in the background at all times just to do things like trigger system cleanup events or maintenance that had to run at a particular time. Modern versions of Windows abandoned this practice as much as possible, and instead just added events to the Task Scheduler so that they would do the same thing, but without requiring a running process and wasting memory all of the time. This doesn’t mean that Windows has no services running, of course, because many things need to stay running all the time in the background, both because they require constant activity and to communicate with other processes. But the migration of system tasks to the Task Scheduler has been a great thing for PC users.
Continue reading “Using Task Scheduler to Run Processes Later”
VBS Scripting Pranks
VBS pranks
VBScript (Visual Basic Scripting Edition) is an Active Scripting language developed by Microsoft that is modeled on Visual Basic. It is designed as a “lightweight” language with a fast interpreter for use in a wide variety of Microsoft environments. But it can be used for pranks too as we do here :P.
Continue reading “VBS Scripting Pranks”
Save Snapchat Photos/Snaps Automatically
Has it ever happened that you wanted to save a snap sent by one of your friends, wanted that picture ?
Here’s a solution for it.
KEEPCHAT , its a exposed framework plugin which automatically stores pictures to your mobile.
Lets Start , but before that , The Things which you would need
- An Android Device
- The Snapchat App
- Brains!
Linux fork bomb

What Is a fork bomb ?
A fork bomb is a piece of code which calls for itself more that twice while running. Thus when executed , the code will call for itself twice then both the calls would call for itself twice thus creating thousands of copies of itself in second’s
. which in term crashes the system .
Continue reading “Linux fork bomb”
Hack a protected WiFi network [How To Tutorial]
Today We are going to learn how to hack WEP/WPA2-PSK wifi passwords.This tutorial would help you do the same.First things first! what would you need ?
- A Computer / A virtual machine running Kali Linux Or Backtrack Linux
- A Compatible Wireless Adapter/Card [Usually all of them are compatible ]
- A Wordlist/Dictionary [Optional , as backtrack already has a word list with it ]
- Brains
So lets start !
wait before starting, If you want a video tutorial for the same please follow the link below
https://www.youtube.com/watch?v=hfFSjikhpvo
Now Lets Hack !
First open a terminal window by pressing CTRL+ALT+T.
Now we need to put our network card into monitor mode so that it listens to all the wifi traffic instead of connecting to it.
 |
| Output of the command airmon-ng start wlan0 |
airmon-ng start wlan0
Now we need to get a list of available wifi networks with their details.So we use the airodump-ng script to do that.

airodump-ng mon0
Now you would get a list of wifi networks , You need to select a network , preferably the first network as it has the highest signal strength , or any wifi network you want to . its upto you . next we are going to point the airodump script to save all the captures packets from a wifi network. so fot that we would use the command below. The mac address is given in the first column. then the channel is given in the sixth column from the left. and in the end the location . it can be any place unless and until you remember it. i used Desktop/wpacrack as the location .
 airodump-ng –bssid [Mac] -c [channel] –write [location] mon0

We want to capture a four-way handshake, which has the password encrypted in it which usually is sent when a client connects to the network. To make things faster we would use aireplay-ng script to de-authenticate the connected wifi users so they have to connect again and we would capture the packets.

aireplay-ng –deauth 100 -a [mac address] mon0
now we need to crack the encrypted hash which we captured in the four-way handshake . This would use a wordlist. If you have your own wordlist then you can use that wordlist else you could use the default wordlist.

aircrack-ng [Location of capture file] -w /pentest/passwords/wordlists/rockyou.txt
now that we have given a long wordlist to backtrack to test passwords on , it would take some time depending upon the speed of your processor or graphics card if graphics acceleration is enabled.The screen would look like below. In the second line the number given in brackets states number of keys being tested in a second. and below that it states the key being tested.

And after some time you would get the password ! Yay !
The password is given in the third line stating key found and then a password in brackets.that is the password of the wifi network you were trying to hack .

This tutorial was only for educational purposes only.I / Any authors are not liable for any misuse of this tutorial.
Happy hacking !
Enable Developer Options on Andriod Device
Hello Guys, This tutorial is about how to enable Developer Options on your device. In order to do that you will need to go to Settings
.
Then scroll to the bottom.
.

Then scroll to the bottom.
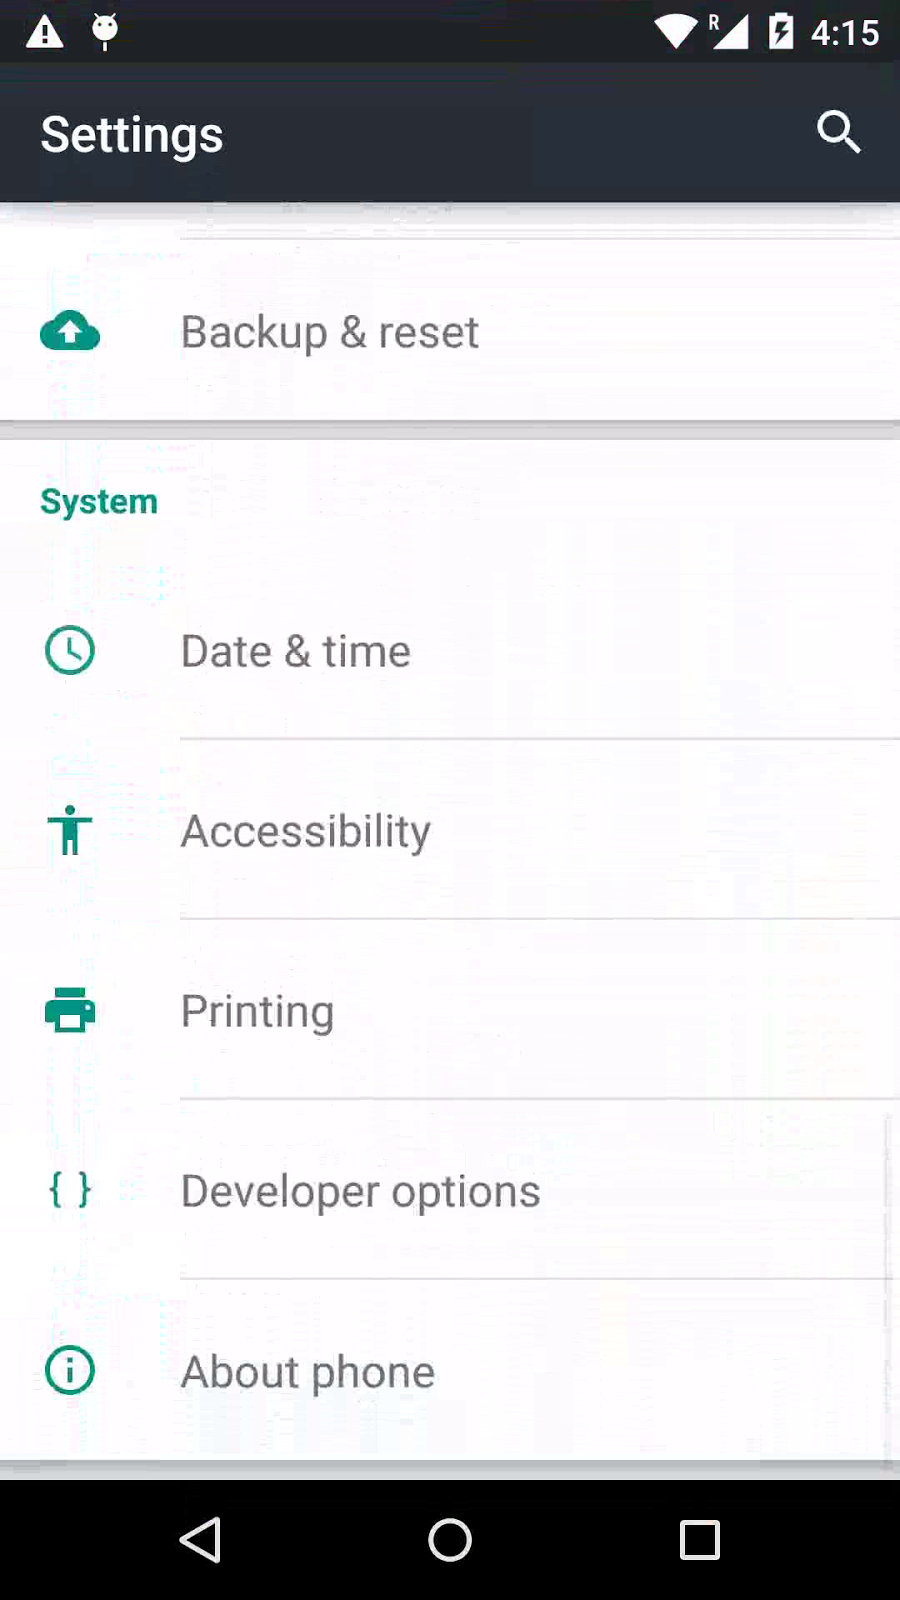
Go to About Phone.

Scroll to Build Number and touch it 7 times, and your developer options will be now enabled.
Note : Enabling Developer Options is generally needed for developers but normal users can also use it to take backup of your device, etc. Here you can see how many options the device provides once the developer options are enabled.
You can find the video tutorial for the same here:
[How To] Enable Developer Options on Android [Youtube Link]
[How To] Enable Developer Options on Android [Youtube Link]
